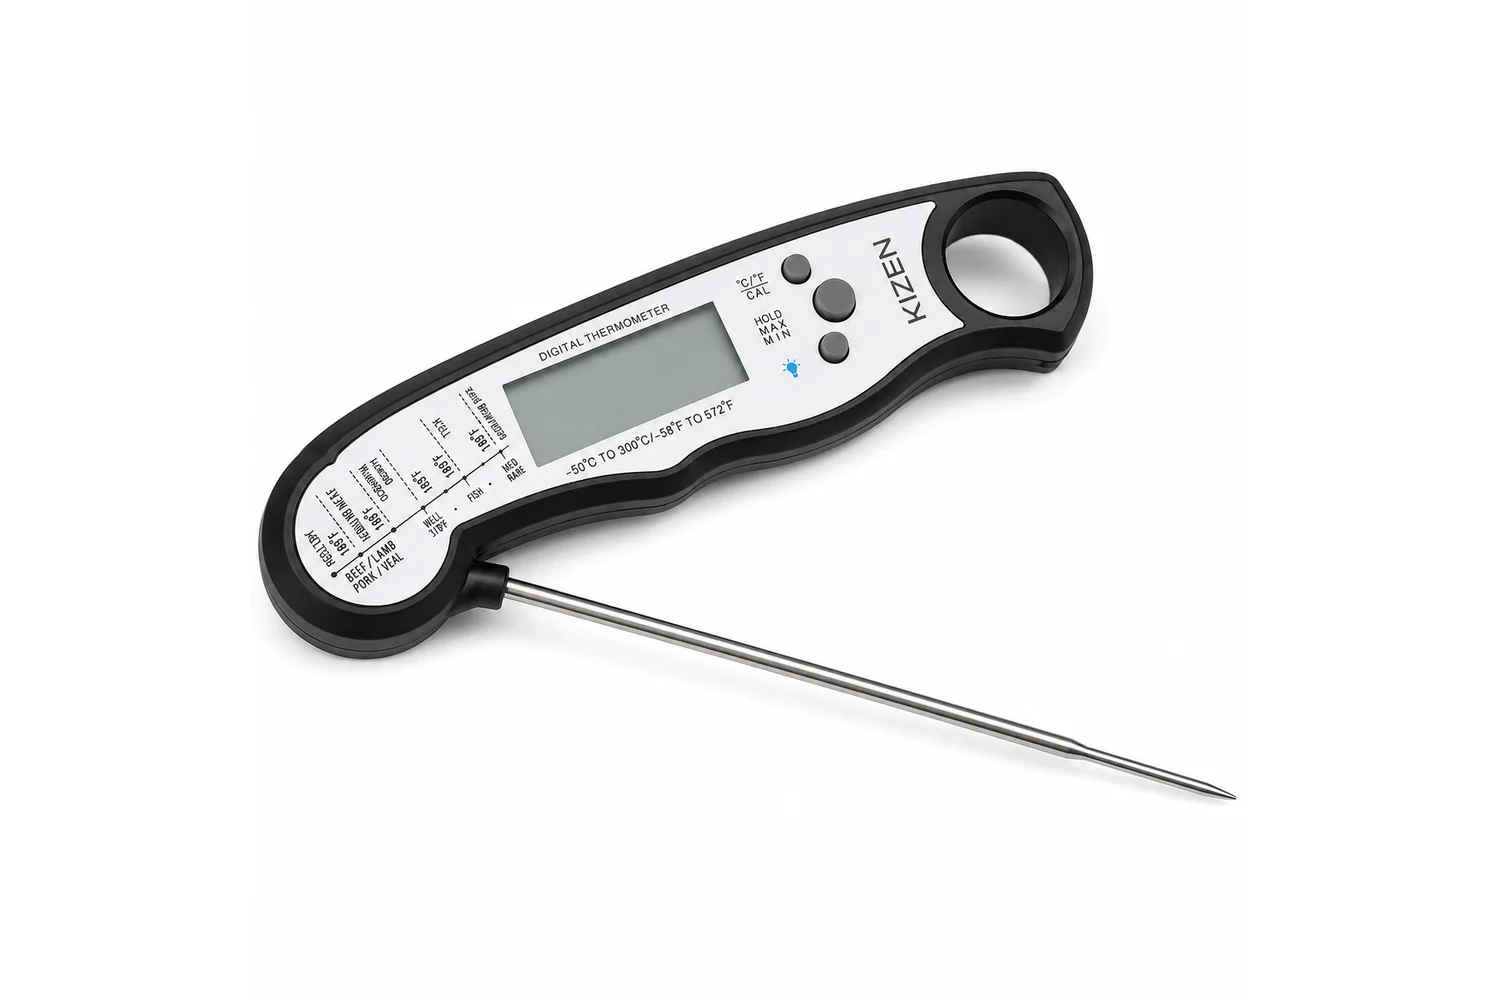
Quick Start
Unfold the probe and push the tip into the thickest part of whatever you're cooking, staying clear of bone and any big pockets of fat. Give it a couple of seconds to settle instead of reading it the moment a number appears. If you're checking something large or oddly shaped, test it in two or three spots rather than trusting a single reading. When you're done, pull the probe out, wipe or rinse it off, and fold it back down — folding is what shuts the thermometer off.
One thing worth knowing up front: thin foods like burgers or pork chops are easier to read if you go in from the side. Coming straight down through the top can push the tip clean through before it ever reaches the center.
Buttons and Display
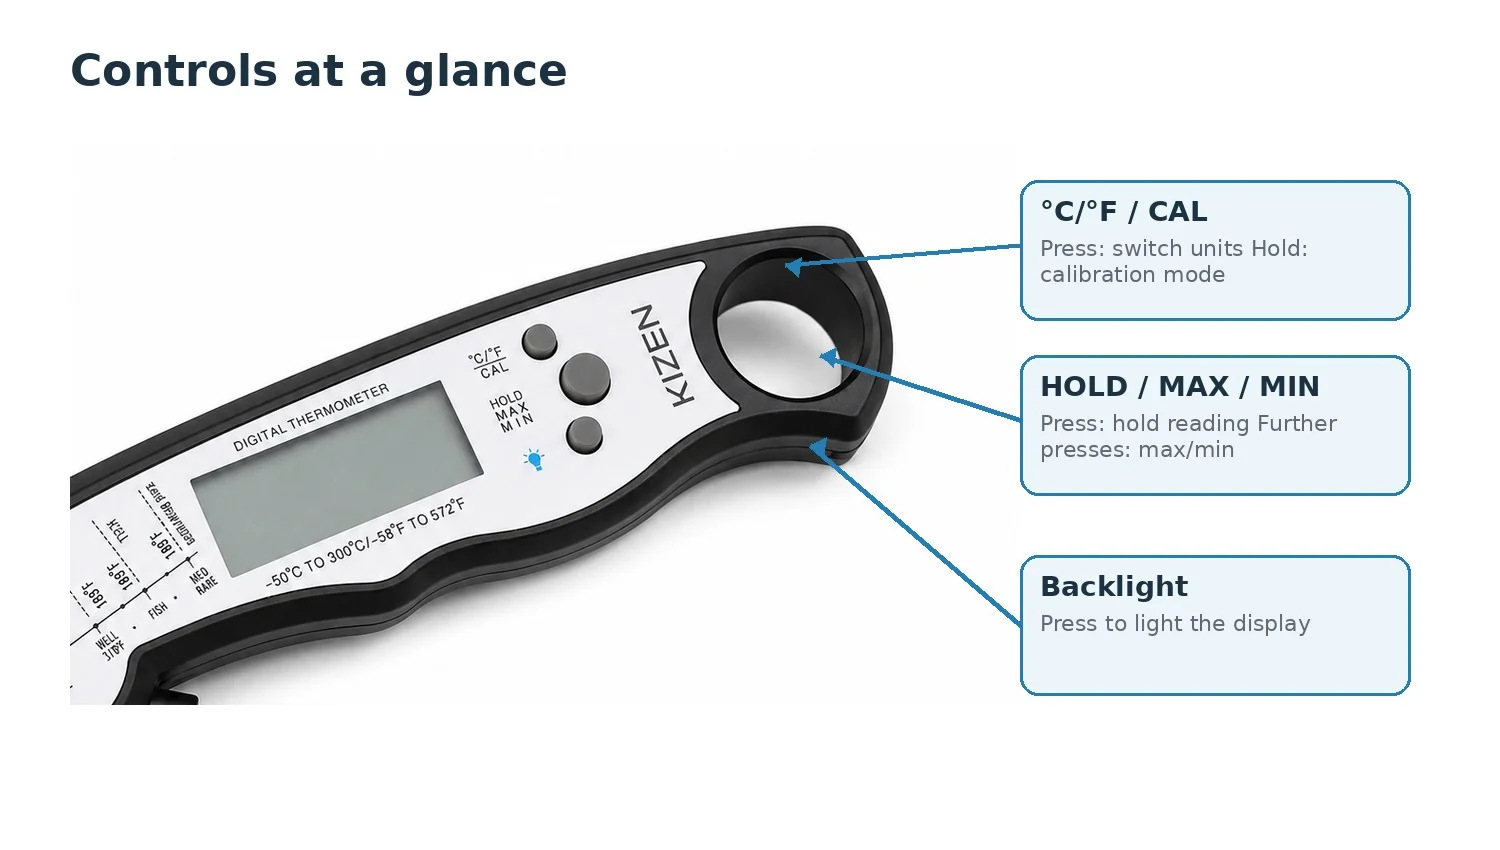
There are only three buttons, so there's not much to memorize.
°C/°F / CAL switches units with a single press. Hold it down for about three seconds and it drops into calibration mode instead — more on that below. HOLD / MAX / MIN freezes whatever the display is showing on the first press, then cycles through the highest and lowest readings you've taken that session on the presses after that. The last button just turns on a backlight for reading the display in a dim kitchen or outside at the grill.
Beyond that, opening the probe turns the unit on and folding it back closes it down. It'll also shut itself off if you leave it sitting idle for a while.
Where to Insert the Probe
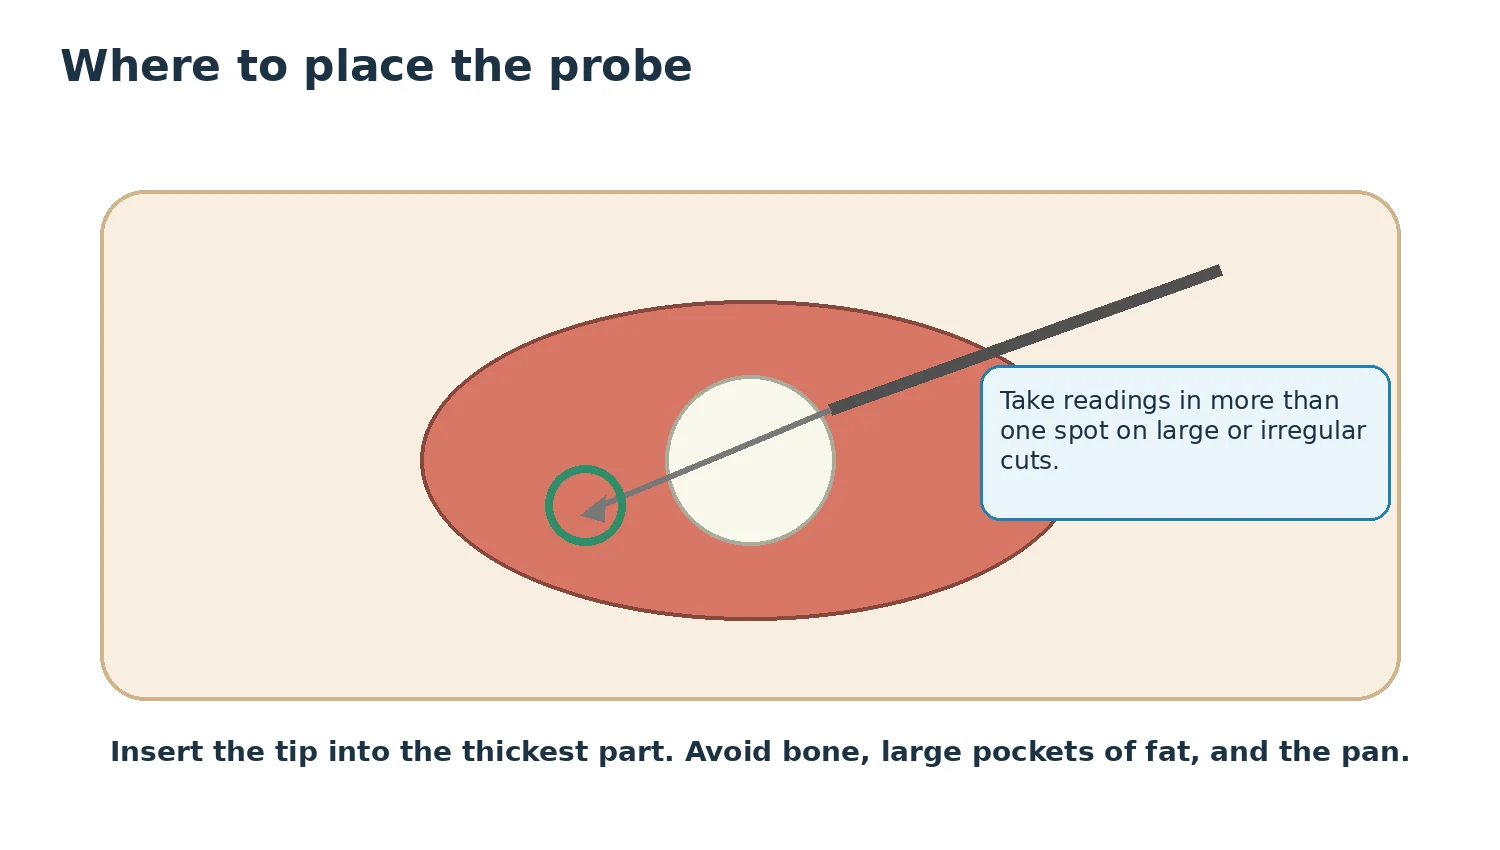
For meat and poultry, the goal is the thickest part of the cut — that's where it's slowest to cook through, so it's the most honest place to check. Steer clear of bone, gristle, and any large fat pockets, since they'll all throw the reading off, and don't let the tip touch the pan itself. On anything thin, come in from the side instead of the top. And if you're working with a big roast or something uneven like a whole chicken, check it in more than one place before deciding it's done. Once you've got your reading, take the thermometer out — the plastic housing isn't meant to sit in an oven, grill, smoker, or fryer while the food keeps cooking.
Liquids, candy, and oil work a little differently. Keep the tip submerged, but don't let it touch the bottom or sides of the pot — you'll pick up the pan's temperature instead of the liquid's. Give it a stir first if you can, then measure from the center, and keep your hand and the thermometer body clear of steam and splashes while you're at it.
How to Check Calibration
The thermometer comes calibrated from the factory, so this isn't something you need to do routinely. It's worth checking after you drop it, after a battery swap, or if readings start looking consistently off.
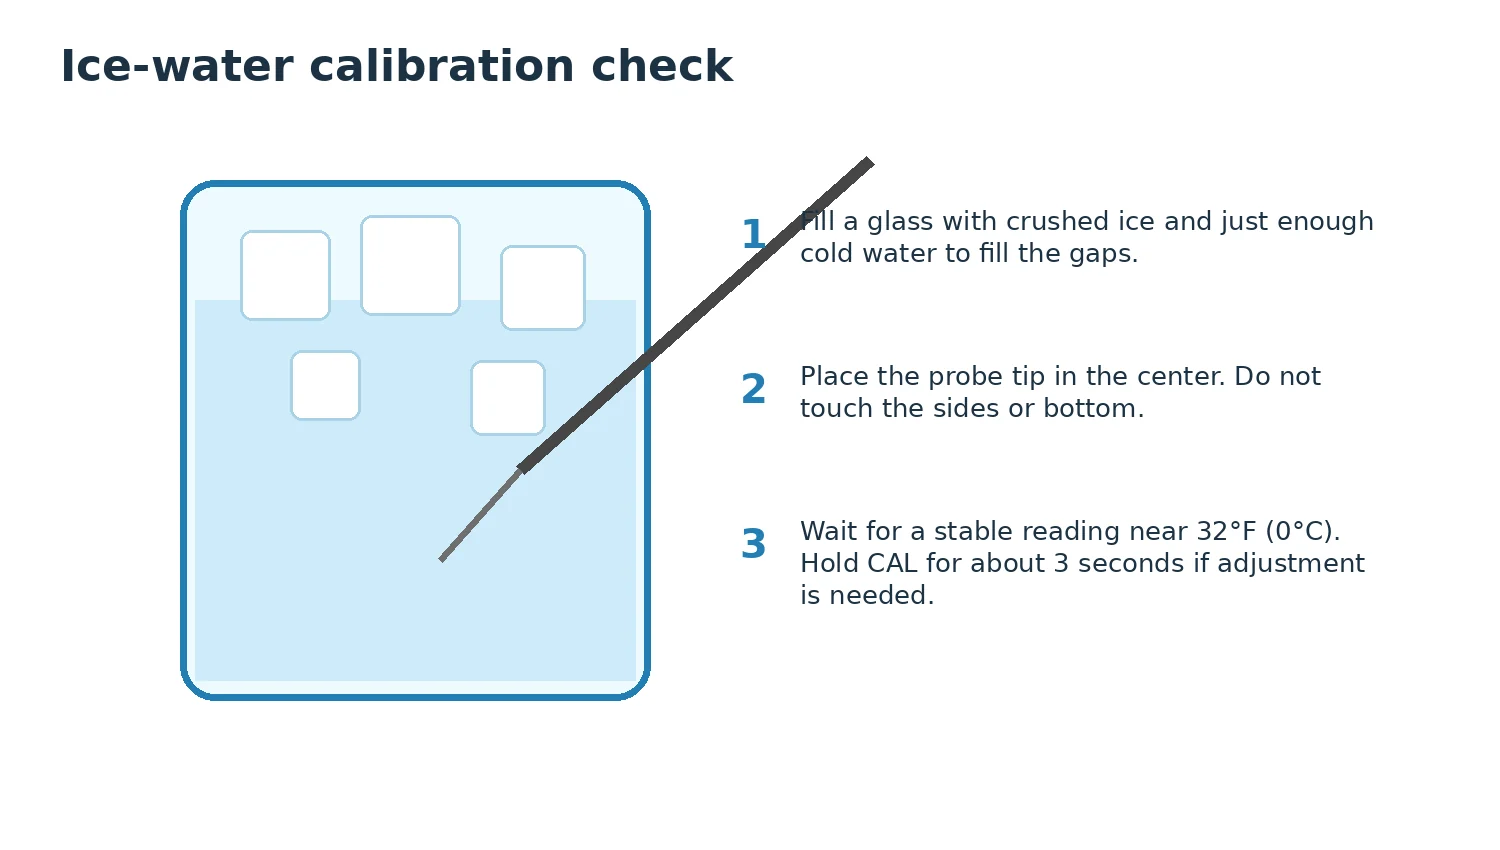
Fill a glass with crushed ice, then pour in just enough cold water to fill in the gaps between the ice — stir it and let it sit a moment. Put the probe tip in the middle of the mixture without letting it touch the glass, and wait for the number to settle. A properly made ice bath should land right around 32°F (0°C). If yours is off, hold down °C/°F / CAL for about three seconds while the probe is still in the ice, and it'll recalibrate.
If the reading still won't land near freezing after that, try a fresh battery and run the check again. And if the display or probe itself looks damaged, it's time to stop using it rather than keep troubleshooting.
Safe Minimum Internal Temperatures
Worth separating from doneness preference: these are the USDA's safety floors, the point below which food isn't considered safe regardless of how it looks. Take the reading before pulling food off the heat.
| Food | Minimum | Notes |
|---|---|---|
| Whole cuts of beef, pork, veal, lamb | 145°F / 63°C | Rest at least 3 minutes |
| Ground beef, pork, veal, lamb | 160°F / 71°C | No rest time required |
| All poultry, including ground | 165°F / 74°C | Check thickest areas |
| Fish and shellfish | 145°F / 63°C | Or until flesh is opaque |
| Egg dishes | 160°F / 71°C | |
| Leftovers and casseroles | 165°F / 74°C |
If you want to double-check these against the source, the USDA keeps a current Safe Minimum Internal Temperature Chart online.
Cleaning and Storage
Get in the habit of cleaning the probe after every use — it cuts down on cross-contamination between raw and cooked food. The unit is rated IP67, so a rinse under running water is fine, and mild dish soap works when it needs more than that. Just dry it off completely afterward. What it can't handle is an extended soak, a trip through the dishwasher, or scrubbing with anything abrasive.
Fold the probe away before you put it back, and if you want somewhere handy to keep it, the magnetic back will hold it to a metal surface. The one thing to really avoid is leaving it inside an oven, closed grill, smoker, or microwave — the housing just isn't built to sit through that kind of sustained heat.
Battery Replacement
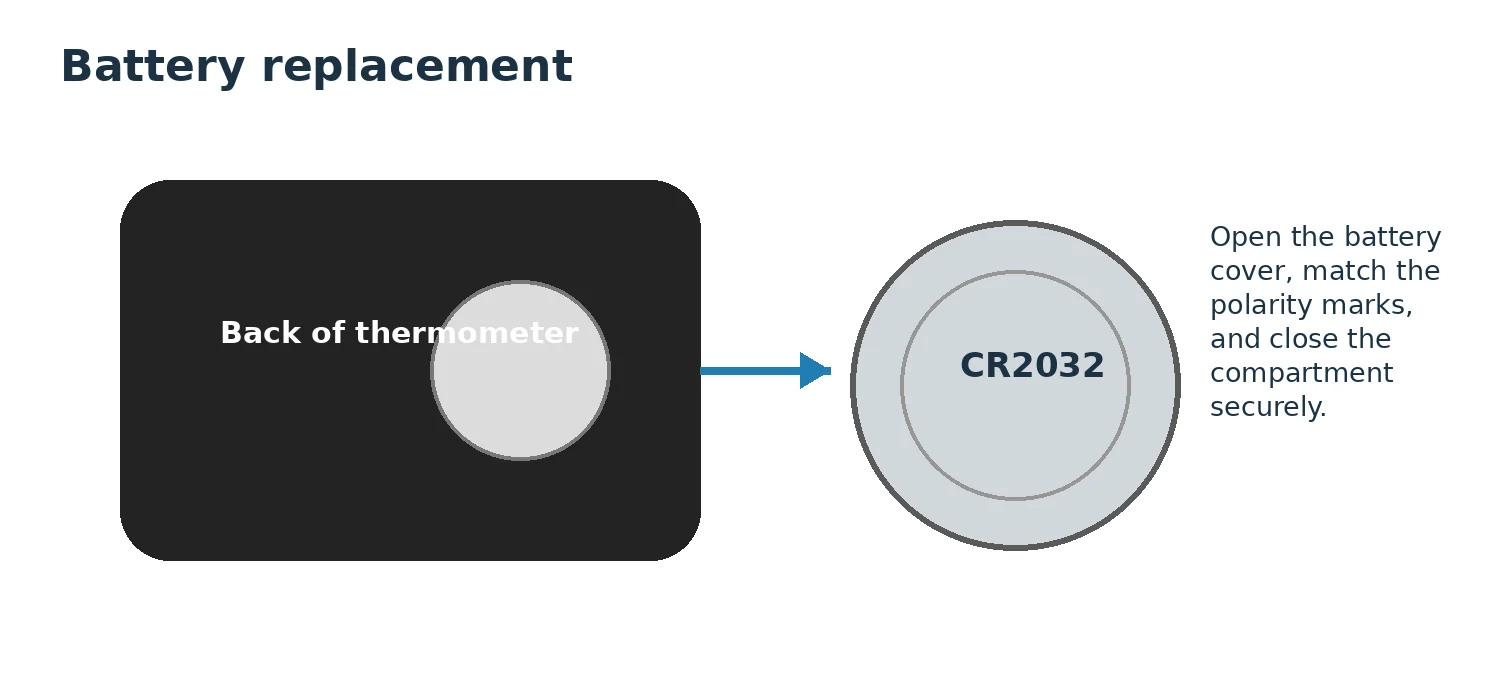
It runs on a single CR2032 coin-cell battery. Open the cover on the back, drop the battery in matching the polarity marks, and snap the compartment shut. Some units ship with a spare in the box, so check before you go buy one.
A quick safety note: keep coin-cell batteries well away from kids, and if one ever gets swallowed, treat it as a medical emergency and get help right away.
Short Troubleshooting
If the display won't turn on, make sure the probe is fully unfolded and check that the battery's seated the right way around — swap in a fresh CR2032 if you're not sure. A reading that changes slowly usually just needs the tip pushed a little farther into the food and a few more seconds to settle. If a number looks wrong outright, move away from bone, fat, or the pan surface, try a different spot, and run the ice-water check to rule out a calibration issue. Seeing LLLL or HHHH on the display means you're outside the measuring range, or possibly looking at a probe or sensor fault — test it at room temperature and replace the battery to see if that clears it. Unresponsive buttons can often be fixed by folding the probe shut and reopening it, or pulling the battery for about a minute before putting it back in. And if you ever notice moisture inside the display itself, stop using the thermometer, take the battery out, and let it dry out fully before trying it again.
FAQ
No — it's meant for quick checks, not for sitting through the whole cook. Leaving it in an oven, grill, smoker, fryer, or microwave risks damaging the plastic body.
Aim for the thickest part, away from bone, gristle, and fat. Thin cuts read better if you go in from the side instead of straight down.
One press of the °C/°F / CAL button toggles the unit.
Run the ice-water check — crushed ice with just enough cold water to fill the gaps, probe in the center, waiting for a reading close to 32°F (0°C).
View the KIZEN Digital Meat Thermometer on Amazon
Affiliate Disclosure: As an Amazon Associate I earn from qualifying purchases.
Sources
- KIZEN Instant Read Digital Meat Thermometer Illustrated User Guide (operation, controls, calibration, cleaning, battery, and troubleshooting details).
- KIZEN Amazon product listing for ASIN B073KYTWGB (model identification).
- USDA FSIS Safe Minimum Internal Temperature Chart (safe cooking temperatures).